Tassel Necklace DIY
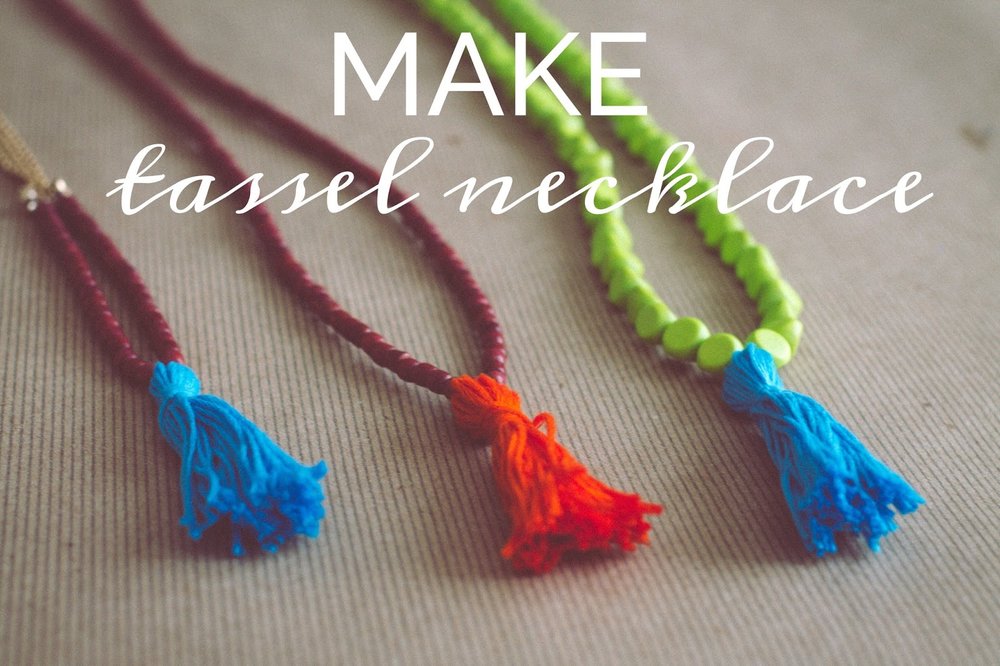
As promised a Tassel Necklace DIY.
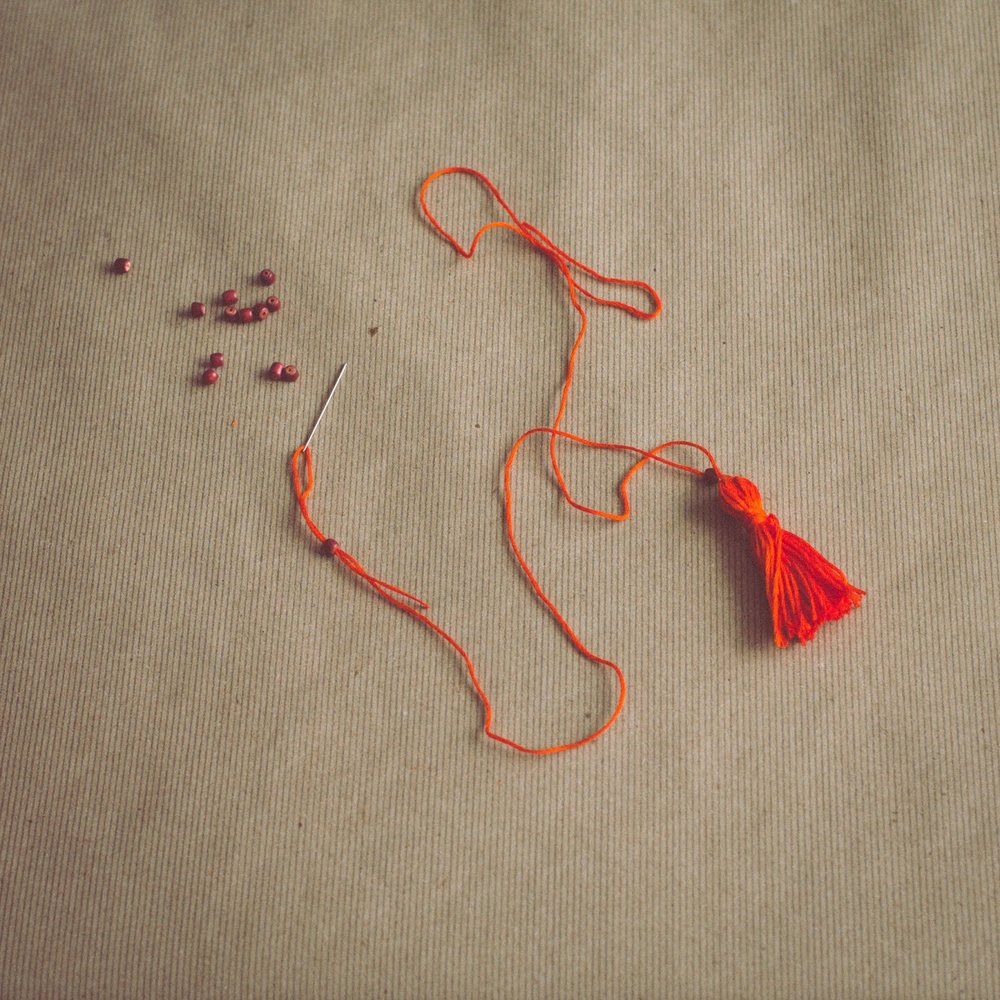
You will need:
- Embroidery Floss
- Beads
- Tape
- Needle
- Scissors
- Super Glue (Optional)

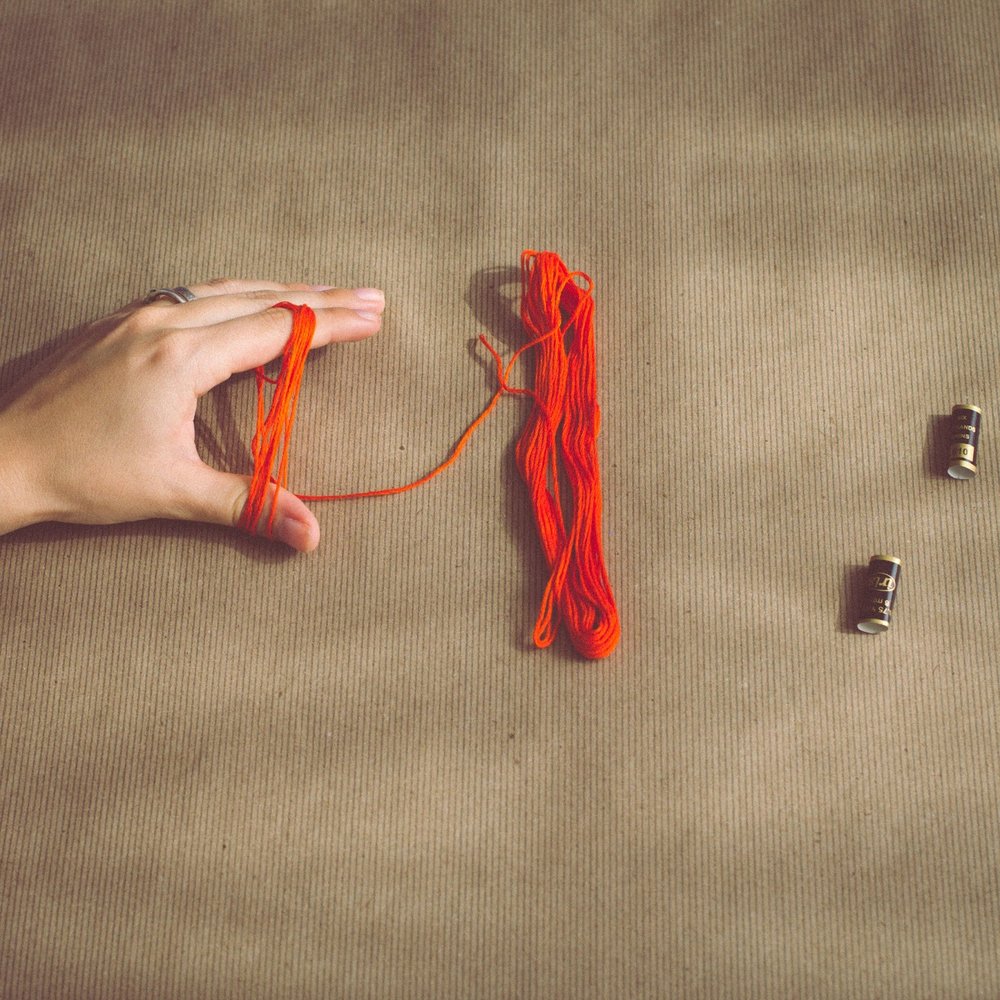
Take your embroidery floss and wrap it around your fingers to your desired tassel necklace. Opening my thumb and index finger seemed like a good length to me.
Cut a separate stand, for the chain part of the necklace, measure it around your neck and make sure is to your desired length. Also make sure you leave enough thread to tie a knot at the end. And tie the strand to the top of the tassel leaving both sides the same length.
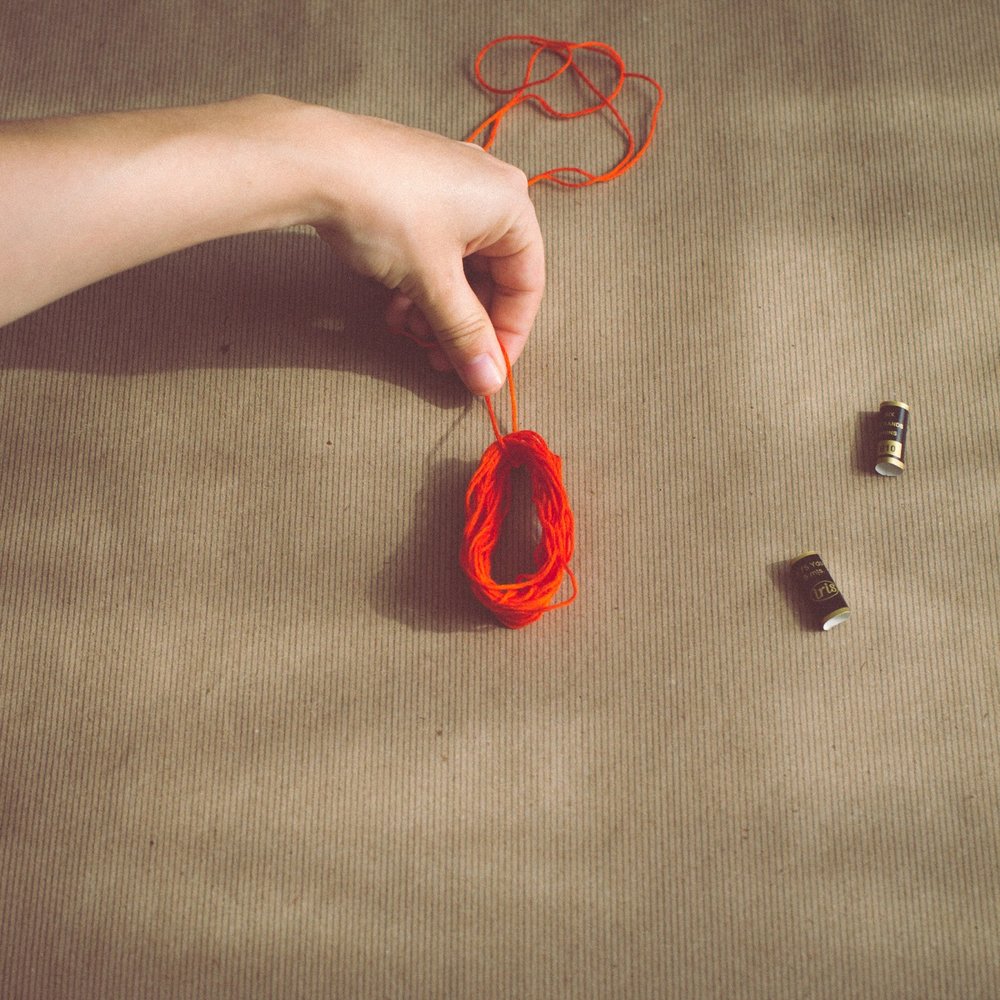
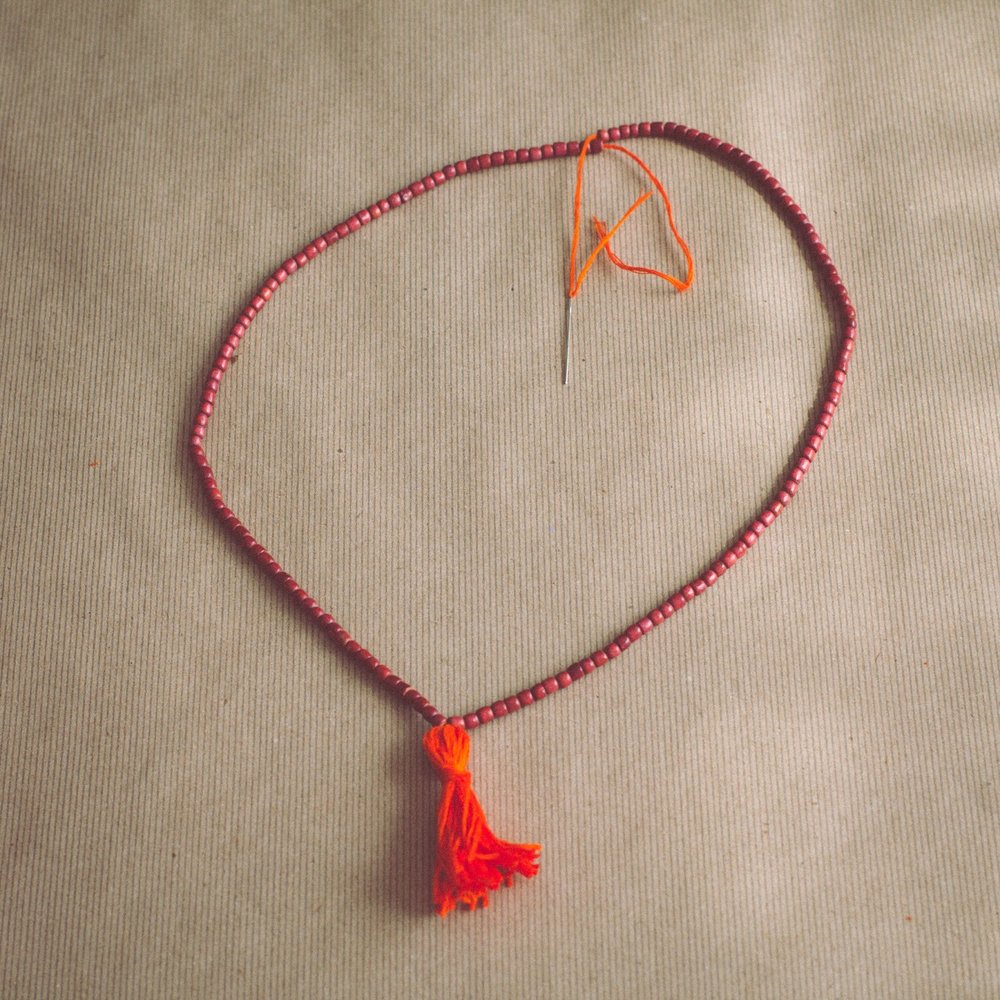
Now, take another strand of floss and wrap around the top of the tassel and then tie a knot to secure.
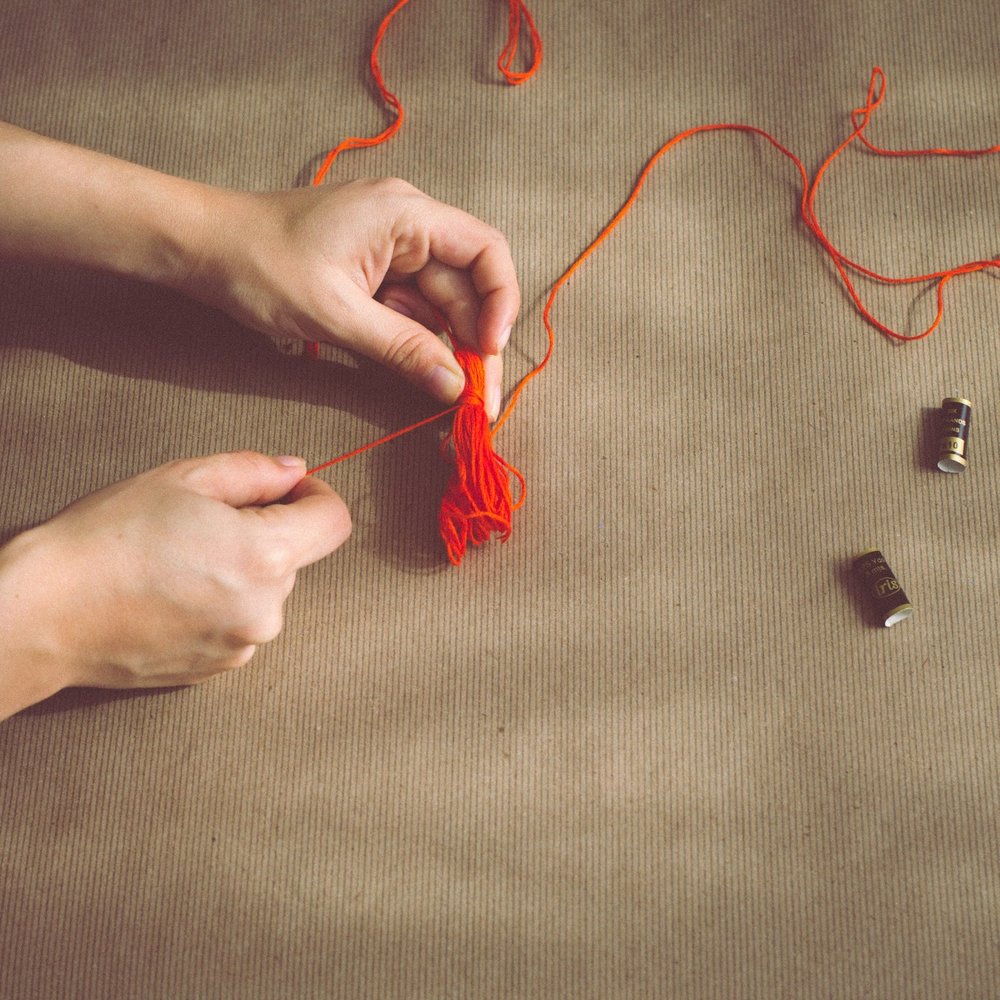
Now take a piece of tape, any tape should do, and tape to the end of the tassel and cut through the tape.

The tape is used to make it easier to trim the ends of the tassel. It should look like the picture below at this point.

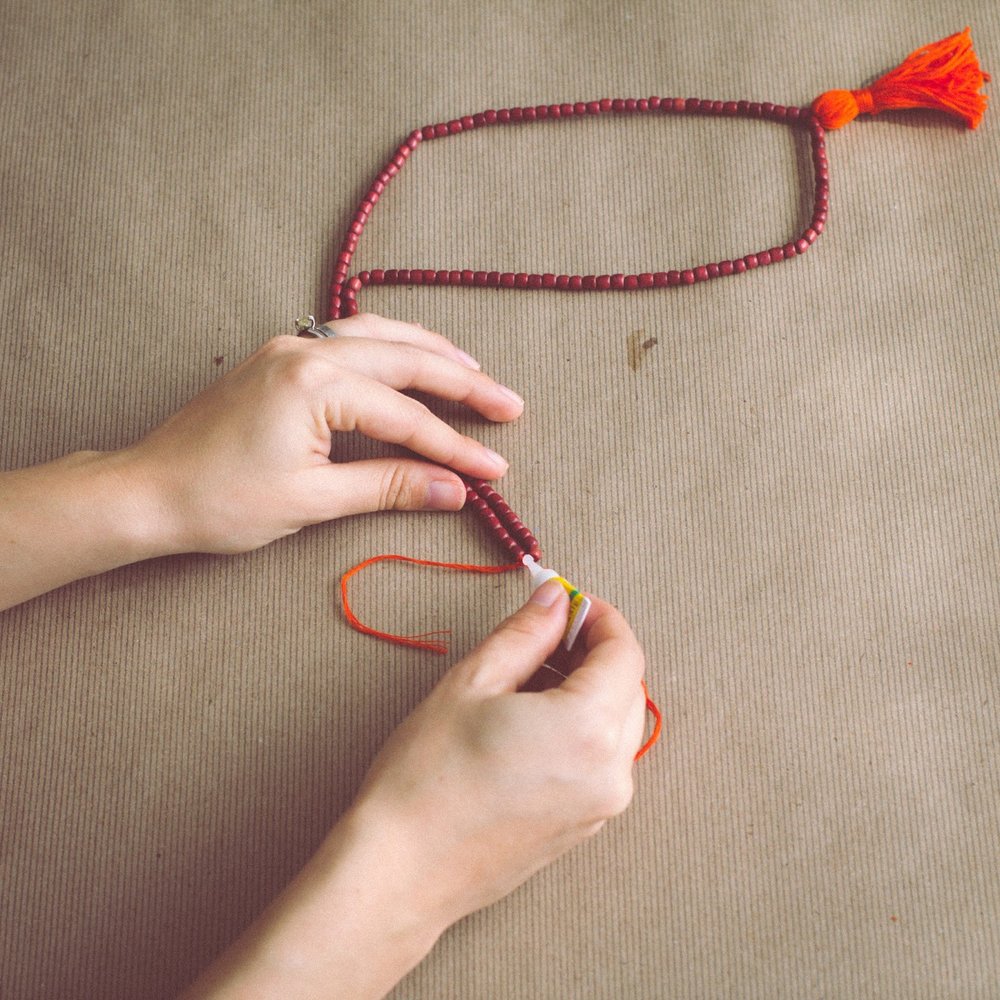
Thread the floss through a needle and start beading both sides of the necklace.
Once finished, then tie both ends together with a double knot. And trim the excess floss.
I have noticed that is easy for the knot to come undone after wearing for a while, so by adding super glue to the knot it keeps it from breaking the knot.
And you're done!
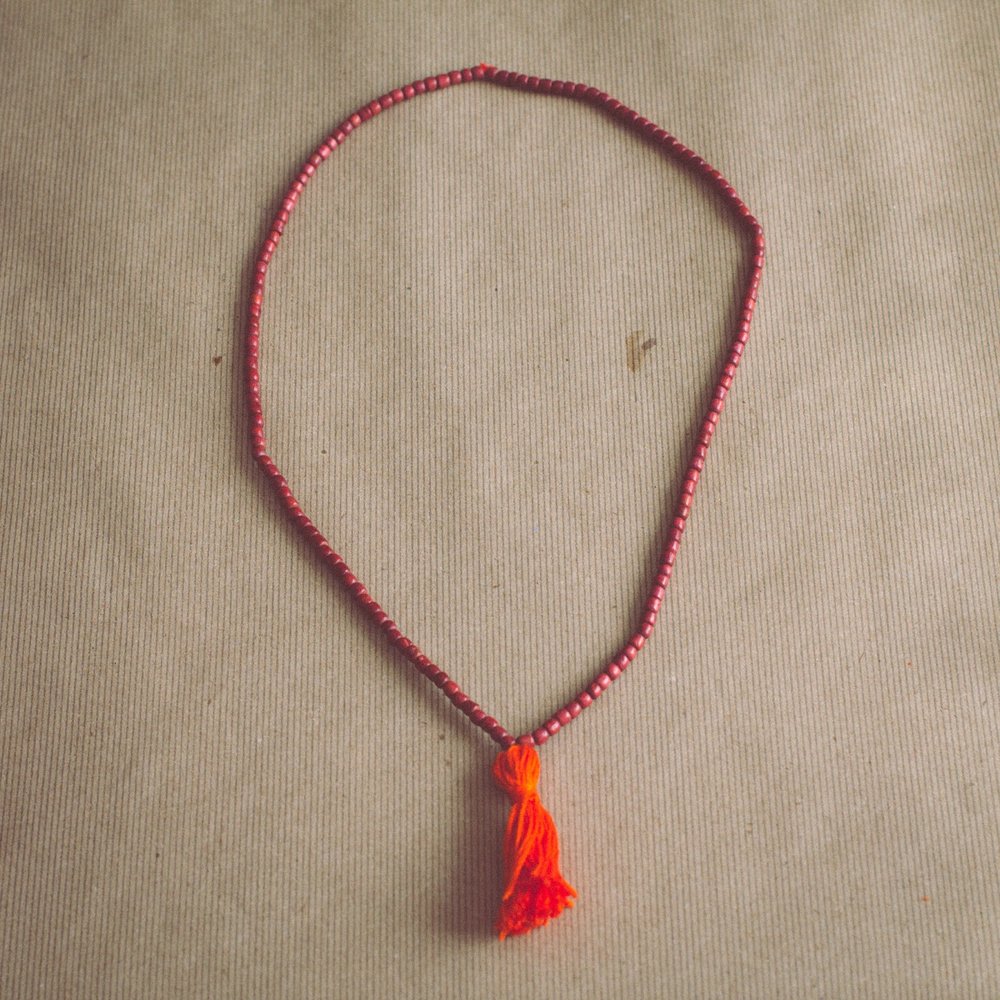
You can experiment with different beads and colors like shown below. I also took an old necklace and tied the tassel to it like the one on the far right. :)

Happy crafting!